





Copyright © 2026 Fluent Conveyors, LLC. All rights reserved.

The Fluent Conveyors logo is a registered trademark of Fluent Conveyors, LLC. Serial Number 97664258 Registered on Dec. 12, 2023


Copyright © 2026 Fluent Conveyors, LLC. All rights reserved.
The Fluent Conveyors logo is a registered trademark of Fluent Conveyors, LLC. Serial Number 97664258 Registered on Dec. 12, 2023

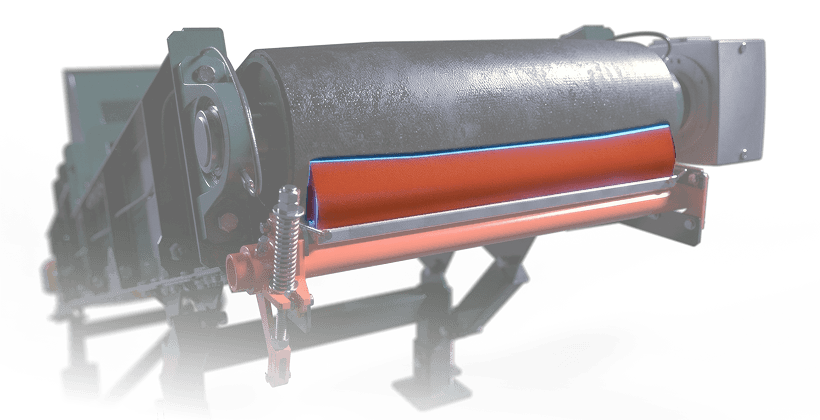
Learn how to replace a primary belt scraper blade on a conveyor, including when to replace, LOTO procedure, blade designs, tension, and post-install troubleshooting.

To replace a primary belt scraper blade, follow these general steps:
Shut down and lock out the conveyor
Release the cleaner tensioner
Remove the retaining hardware
Pull out the worn blade
Clean the mounting area
Install the new blade, reset tension to the manufacturer's specification, and run the conveyor to verify belt cleaning performance.
If carryback persists after a correct blade replacement and tension reset, the cause is almost always incorrect tension, wrong blade width relative to the material path, or a worn secondary scraper, not a defective blade.
Contact Fluent before ordering if the cleaner model, blade material, or belt width is unknown.
Don't pull a blade just because it looks worn. Replace it when one or more of these conditions are present:
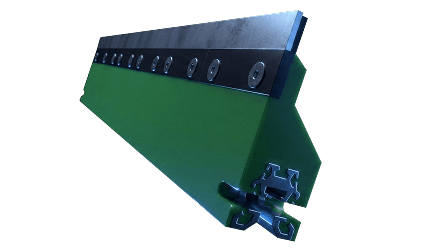
A visual check after startup and after any tension adjustment takes two minutes. A physical inspection under lockout should happen every 6–8 weeks under normal operating conditions, more frequently in high-abrasion applications.
Lock out and tag out the conveyor before touching any part of the cleaner system. OSHA 1910.147 covers all servicing and maintenance where unexpected startup or energy release can cause injury.
Before reaching into the cleaner frame:
Stop the conveyor.
Follow your site's LOTO procedure and isolate all stored energy sources.
Release stored belt tension; the cleaner tensioner holds mechanical energy independent of the conveyor drive.
Confirm zero energy state before removing guards or making contact with the blade.
Do not adjust or service a primary cleaner while the belt is running. Wear site-required PPE throughout.
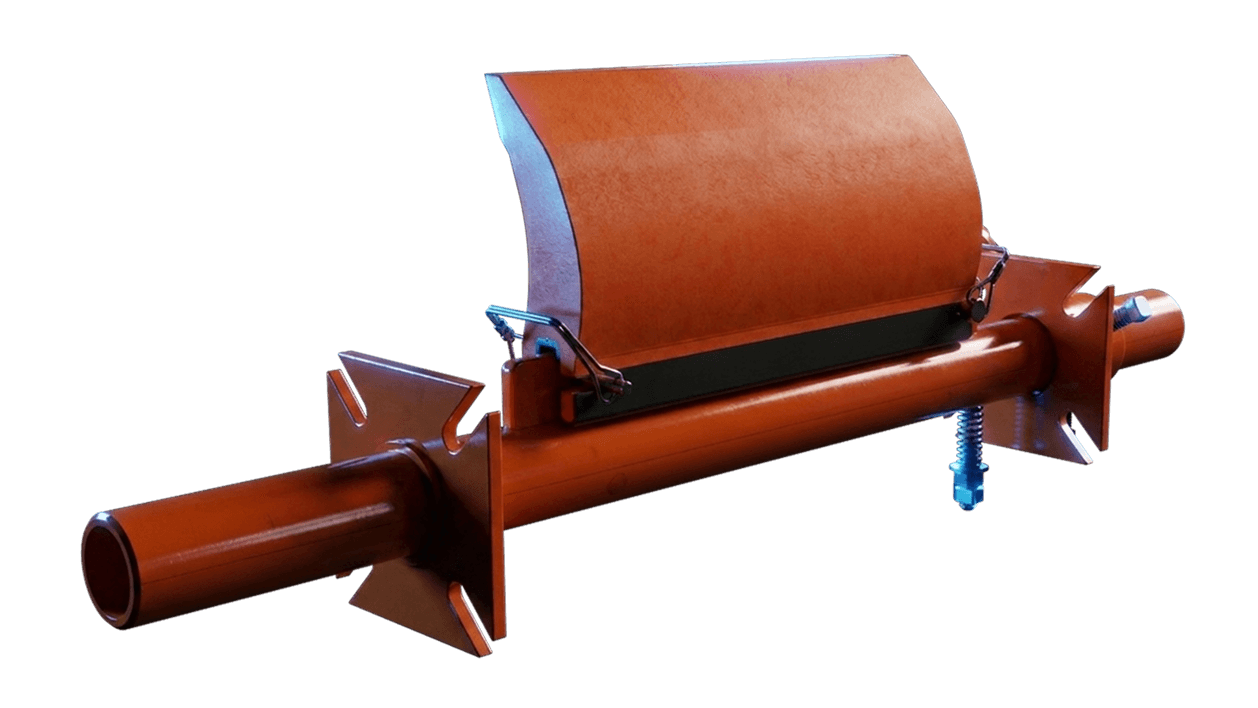
On heavy-buildup applications, plan extra time for step 6 (below); compacted material on the pole or mainframe is the most common reason a new blade seats poorly.
Tools / parts
Wrench or socket set; pin puller or pliers for pin-retained designs
Wire brush; putty knife or hand scraper
Tape measure
Correct material grade and width for your cleaner and belt
Blade pin, retaining clip, or cartridge hardware if worn
Cleaner manufacturer's manual or Fluent parts reference
Before contacting a supplier, record:
Belt width and material path width (the center two-thirds of belt width is standard blade coverage)
Cleaner brand and model; this determines blade profile, pole diameter, and retention style
Current blade material (urethane, segmented, carbide-tipped)
Blade retention style (pin-retained, cartridge, bolted)
Material being conveyed (for blate material selection)
Splice type; mechanical splices affect blade compatibility, particularly with carbide-tipped grades
If the cleaner model is unknown, photos of the existing cleaner from the operator side and the tensioner side will get you to the right blade faster than any spec sheet.
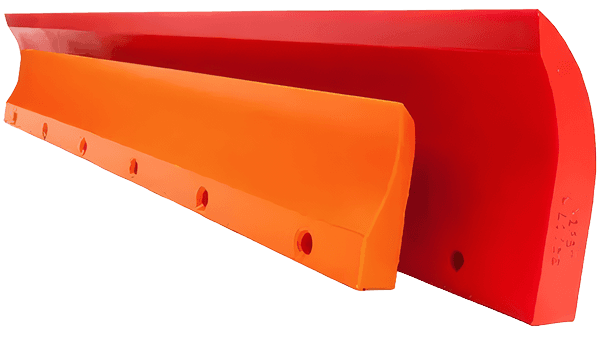


Follow the site LOTO before touching the cleaner.
Back off the tensioning device (spring, torsion, pneumatic, or gravity counterweight, depending on the cleaner model) before attempting any hardware removal. Pulling a blade under tension risks damaging the mainframe, distorting hardware, or contacting the belt surface unexpectedly.
Remove the pin, retaining clip, blade stop, or bolts that secure the blade in place. Keep all hardware; inspect and reuse or replace as needed. See "Blade design variations" below if you're unsure what you're looking at.
Slide or lift the blade out of the mainframe, off the pole, or withdraw the cartridge assembly. If the blade is stuck due to material buildup around the retention points, clear that buildup before forcing the blade; a seized blade shouldn't require significant force.
With the blade out, check tensioner condition, mainframe alignment, mounting bracket integrity, and hardware wear. If the mainframe is out of square or the tensioner is damaged, address those during this same downtime window.
Remove all compacted material from the pole, mainframe, brackets, and surrounding chute area. A contaminated mounting surface prevents the new blade from seating correctly and accelerates uneven wear from the first hour of operation.
Seat the blade into the mainframe or onto the pole. Confirm the cleaning edge is oriented in the correct belt travel direction per the manufacturer's manual. Center the blade on the material path, not the belt.
Reinstall all pins, clips, cartridge stops, or bolts. Confirm everything is secure before applying any tension. A blade that's not locked can walk off the pole under load.
Apply tension according to the cleaner manufacturer's specification. Too little tension leaves carryback; too much accelerates blade and belt cover wear and causes chattering. The blade should maintain consistent contact across the full material path width without deflecting beyond its rated travel.
Remove all tools from the work area, reinstall guards, and release the lockout per site procedure. Start the conveyor and observe from a safe position, not behind the cleaner discharge.
Check for full blade contact, reduced carryback on the return side, and the absence of vibration or belt cover damage. Re-inspect and retension after the first full operating shift; most cleaner manufacturers recommend a follow-up check after initial run-in as the blade seats against the belt.
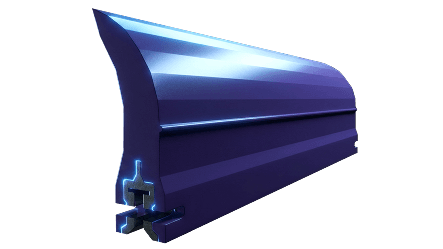
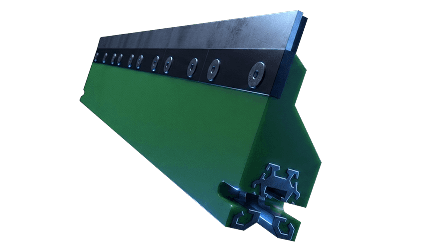
Primary cleaners use several different blade retention designs. The replacement sequence above applies to all of them, but steps 3 and 4 are different depending on the blade type.
If the cleaner model is unknown, the retention style will be visible once tension is released and guards are removed.
Blade material determines cleaning aggressiveness, wear life, and compatibility with your belt cover and splice hardware. The right grade depends on what you're conveying and how the system is configured.
Blade width should match the material path, because running a blade wider than the material path creates differential wear at the edges; running it narrower leaves carryback in the center and produces the smile effect described in the troubleshooting section below.
Fluent stocks replacement belt scraper blades in multiple material grades. If you're unsure which grade fits your application, contact us with belt width, cleaner style, and material handled.
Good blade installation should produce clean, quiet, vibration-free running within the first few minutes of operation. If it doesn't, work through this table before pulling the blade again.
If cleaning performance doesn't improve after correcting tension and confirming blade fit, inspect the secondary belt scraper as well.

Fluent builds custom conveyors and installs primary and secondary scrapers every day. We've worked through most of the configurations and failure modes you're likely to encounter. Tell us what you're running, and we'll point you to the right blade.
Most blade replacements are straightforward once you have the right part. Reach out when:
The cleaner model is unknown, and you can't confirm the blade profile or retention style from inspection alone.
Cleaning performance doesn't improve after correct blade replacement and tension reset.
The mainframe, tensioner, or mounting hardware is damaged and needs to be replaced alongside the blade.
You're sourcing blades for multiple conveyors and want to confirm compatibility across configurations.
Fluent stocks belt scrapers and replacement blades in multiple materials. Reach out with belt width, cleaner style, and material handled for a quick parts match.
OSHA, "1910.147 — The control of hazardous energy (lockout/tagout)," Occupational Safety and Health Administration, https://www.osha.gov/laws-regs/regulations/standardnumber/1910/1910.147
CEMA, "New bulk belt standard #576," Conveyor Equipment Manufacturers Association, May 2, 2013, https://cemanet.org/cema-new-bulk-belt-standard-576/