





Copyright © 2026 Fluent Conveyors, LLC. All rights reserved.

The Fluent Conveyors logo is a registered trademark of Fluent Conveyors, LLC. Serial Number 97664258 Registered on Dec. 12, 2023


Copyright © 2026 Fluent Conveyors, LLC. All rights reserved.
The Fluent Conveyors logo is a registered trademark of Fluent Conveyors, LLC. Serial Number 97664258 Registered on Dec. 12, 2023
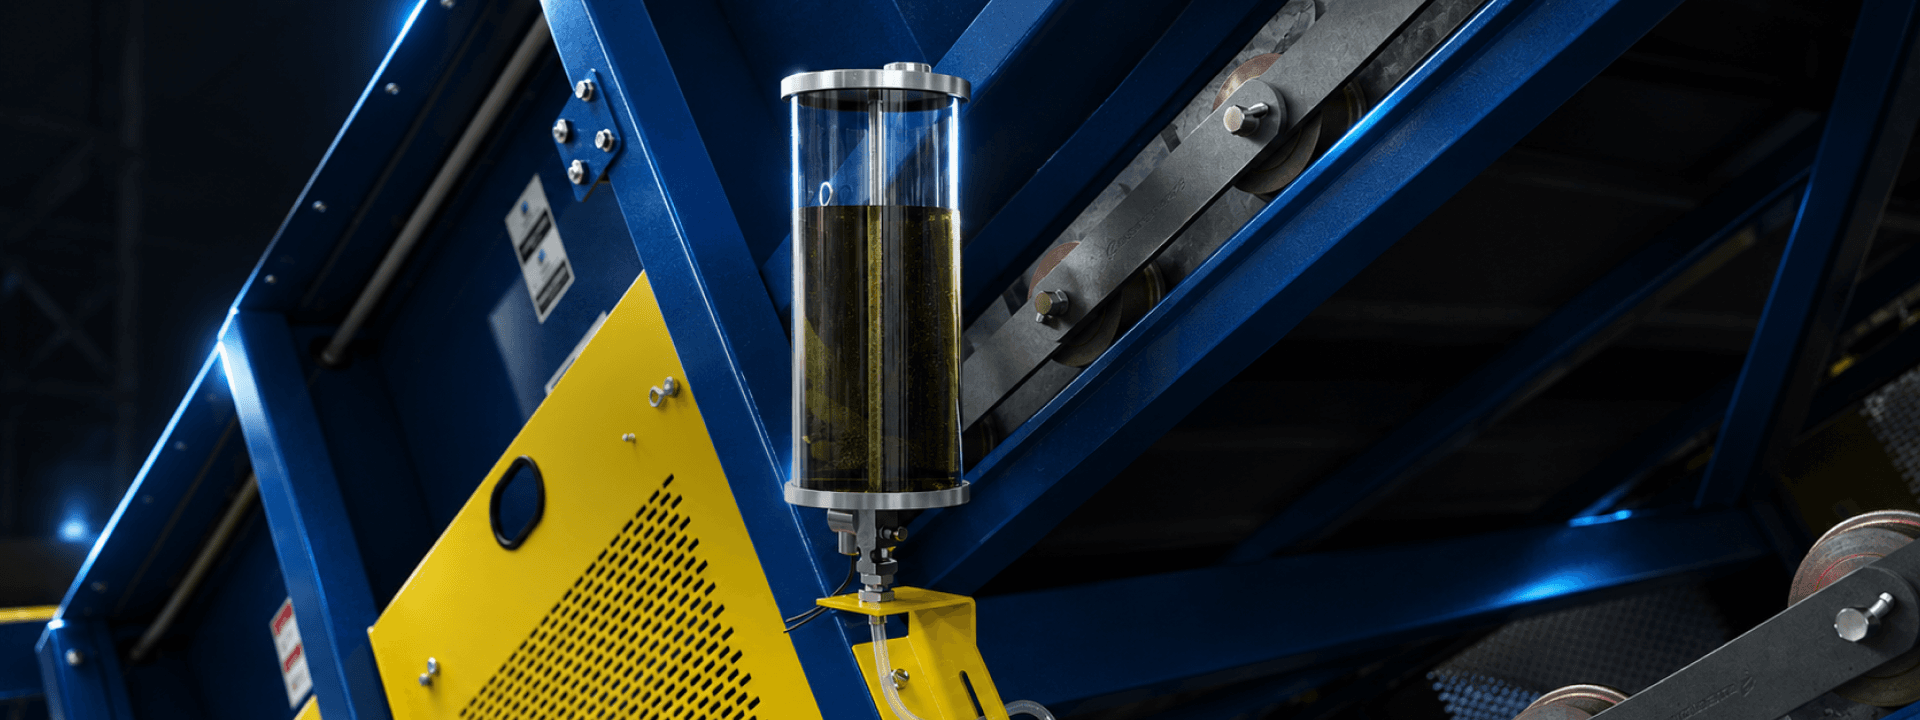
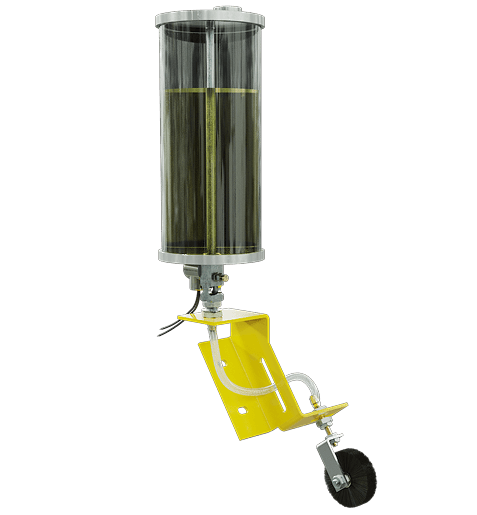
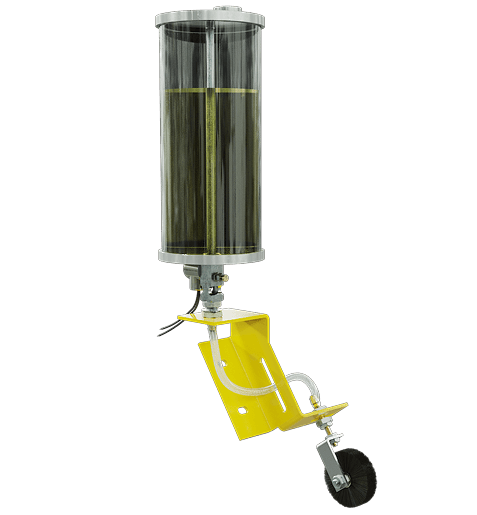
A 120-volt AC electric oiler meters oil onto a moving chain through a solenoid-actuated valve wired into the conveyor's control circuit. The new unit should match the old one electrically, mechanically, and hydraulically.

Replace a 120-volt AC electric oiler on a roller chain conveyor using these general steps:
Below, we'll cover how to tell a failed oiler from a blocked line, what to record before removal, the full procedure, how to prime and commission the new unit, and what to check if the replacement reproduces the original symptom.
Replace the oiler when the valve body, coil, or reservoir can no longer meter oil at a repeatable rate. Inspect the feed line, brush, and oil condition in the same window, since a failing oiler and a restricted line produce the same symptom on the chain.
Common failure signals:
You should also check the chain. Under-lubricated roller chain develops a reddish-brown discoloration in the joints before the chain starts making noise. When that appears on a conveyor with a running oiler, the delivery path has a problem between the reservoir and the link plates.
A replacement that fails inside a year in the same position points to something other than the oiler. Mounting vibration, ambient temperature above the reservoir material's rating, and contaminated oil account for most short service lives. Oiler replacement parts are available at the component level once the cause is isolated.
Working oilers get pulled off conveyors every year because the chain was dry. Before ordering a complete unit, isolate the problem and determine which decision path is best.
Replace nothing when the reservoir is low, the vent is blocked, the needle valve has drifted from vibration, the feed line is kinked or plugged, or the brush has worn past its adjustment range. Each presents as a dry chain and none requires a new oiler.
Replace a component when the failure is isolated: a coil that will not actuate on confirmed control voltage, a cracked reservoir, a leaking seal set, or a sight feed valve that no longer regulates. Coils, reservoirs, seal kits, and sight feed assemblies come off without pulling the valve body.
Replace the complete oiler when the valve body is cracked or corroded, the mounting thread is stripped, several subsystems have failed together, or the unit is old enough that component availability is uncertain.
The field test that separates path 1 from path 2 takes about two minutes. Disconnect the feed line at the brush end and route it into a container, then cycle the oiler under your site's controlled-energization procedure. Oil arriving at the open line end means the oiler works and the restriction sits downstream in the line, fitting, or brush. No oil means the fault is in the oiler or its supply.
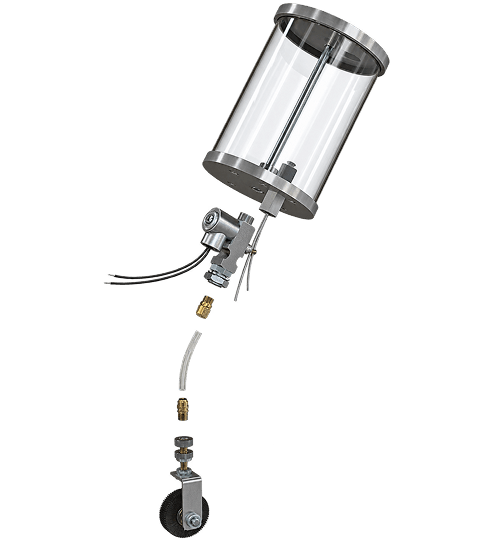
Lockout/tagout is mandatory before the conduit cover comes off or any fitting is broken. OSHA 29 CFR 1910.147 covers servicing and maintenance where unexpected energization or startup could injure a worker, and the standard excludes control circuitry from its definition of an energy-isolating device. Stopping the conveyor at a pushbutton or a selector switch does not isolate the oiler solenoid.
Before starting:
Apply your site's energy control procedure to the conveyor.
Isolate the drive motor disconnect and the separate control circuit feeding the oiler solenoid.
Verify zero energy at the oiler's own terminals with a meter, not by observing that the conveyor has stopped.
Account for stored gravitational energy on inclined conveyors carrying a load.
Confirm the chain cannot rotate before reaching near the brush position.
Position a container to catch oil released when the feed line opens.
Only trained maintenance personnel should perform this work. Our guidance on reducing conveyor hazards covers site-level practice around guarding, access, and energy control.

Gather the required tools and materials before starting the replacement to ensure a safe and efficient installation.
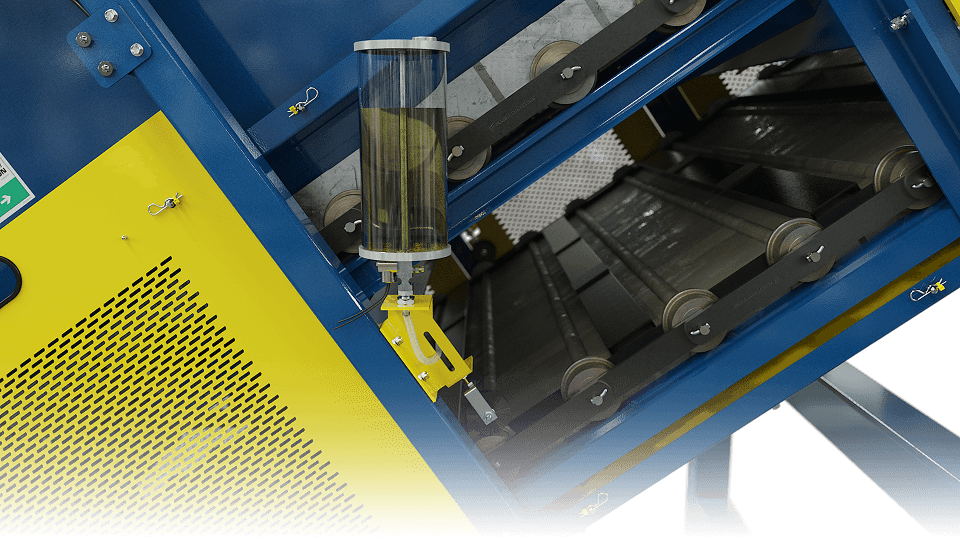
Match the replacement to the existing nameplate, the conveyor's electrical schematic, the mounting arrangement, and the lubrication connection before removing components from the frame.
Do not assume two electric oilers in similar housings share terminals, thread sizes, brush geometry, or reservoir dimensions. Within one manufacturer's electro chain lubricator range, the same body is sold in 120V/60Hz, 240V/60Hz, and 24V DC, across three reservoir materials, seven capacities, and eight bristle sizes. A 240-volt unit and a 120-volt unit can be visually indistinguishable on a shelf. Record the following while the old unit is still in place:
Reservoir material rating has to cover the ambient temperature at the mounting position rather than the plant's general ambient, since a reservoir near a drive, a heat source, or inside a poorly ventilated enclosure runs hotter than the aisle beside it. Capacity availability also varies by material, so a like-for-like capacity swap is not always possible when the material changes. Configuration options, thread sizes, and brush dimensions are listed on our 120-volt AC electric oilers page. Owners of Fluent-built machines can supply the conveyor serial number for the original oiler specification.
Photograph the following before any hardware is loosened:
The complete oiler in place, with the mounting point and the chain in frame
The nameplate or spec label
The electrical connection with the cover off, before disconnections
The oil feed line routing from outlet to brush
The brush-to-chain contact point, from the side and from above
The sight feed valve with the current drip setting visible
Labeling on the leads or terminals
A photograph of the original terminal arrangement is faster to work from than a schematic pulled from a file six months later. Our auto-oiler electrical installation schematics cover typical contactor and timer arrangements when the original documentation is missing.
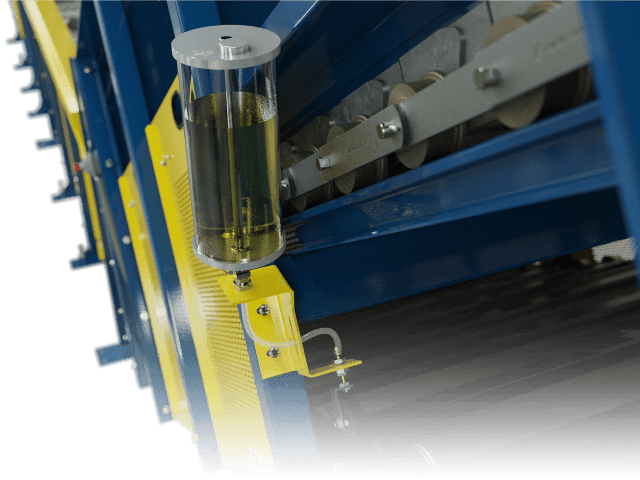

The sequence below covers single-feed and multi-feed electric oilers on roller chain conveyors. Configuration variants include pipe mount versus remote thread mount and contactor-tied versus timer-controlled operation. Match each step to the installed unit.

No work proceeds until zero energy is verified at the oiler connection itself.
Open the valve body cover. Photograph the terminal arrangement if it was not captured earlier, then disconnect and label the leads. Note the conduit routing before pulling them back.
Position the drain pan. Break the fitting at the oiler outlet first, then at the brush end if the line is being replaced.
Note the standoff and contact geometry before loosening the bracket. A written measurement beats a photograph here.
Support the reservoir. On pipe mounts the unit unthreads from the nipple; on remote thread mounts the mounting nut backs off first.
Check the nipple or bracket for thread damage, corrosion, and cracking. Inspect the feed line for softening, internal varnish, or debris, and replace tubing that has hardened. A new oiler feeding through a restricted line reproduces the original symptom on the first shift.
Before anything is mounted, confirm matching:
Voltage and frequency
Control arrangement and current draw
Outlet thread type and size
Mounting thread and clearance envelope
Brush type, bristle material, and dimensions
Number of feeds
Reproduce the original physical relationship unless the conveyor documentation or the new unit's instructions call for something different. Apply pipe sealant to the NPT connection, thread the unit to the mount, and orient the reservoir so the oil level reads clearly from the normal service position.
Brush width should span roughly 90% of the chain width. Set light contact across the full brush face without deflecting bristles hard against the ANSI roller chain.
Confirm the contact point sits on the chain rather than on a roller chain sprocket or a guide, and that oil reaches the link plate edges where the pins and bushings draw it in.
Verify thread type and size at both ends before threading anything together. Outlet threads vary between configurations and forcing a mismatch damages both parts. Route the line clear of the chain path and any pinch point.
Work from the conveyor's electrical schematic and the replacement unit's documentation rather than the previous unit's assumed wiring. Our AC electric oiler wiring guide covers connection methods by motor control architecture.
Use the grade already in service unless there is a documented reason to change it. Fill through a clean funnel and confirm the filler cap seals. Our guide on what oil to use in a conveyor oiler covers SAE grade selection by ambient temperature.
A correctly installed oiler reads as faulty when the line is still full of air. Open the needle valve wide, cycle the oiler, and run it until oil arrives at the brush end in a continuous column. Prefilling the line before assembly shortens this considerably. Reset the needle valve to the recorded drip rate once oil is moving.
Everything removed for access goes back on before restart, to match the conveyor guarding requirements that applied before the outage.
Run these checks in order before the conveyor goes back under load.
After a shift of normal running, the chain should carry a light film across all spans, no accumulation on the frame below the brush, and no return of the reddish-brown joint discoloration.
Component names in this table are defined in our conveyor glossary if any are unfamiliar.
A replacement that reproduces the original symptom usually means the oiler was never the problem. Work the line, brush, and oil condition before condemning the new unit, and log what you find.
A replacement is the natural moment to correct a configuration that was undersized from the start. But there are situations where the original specification should not be repeated:
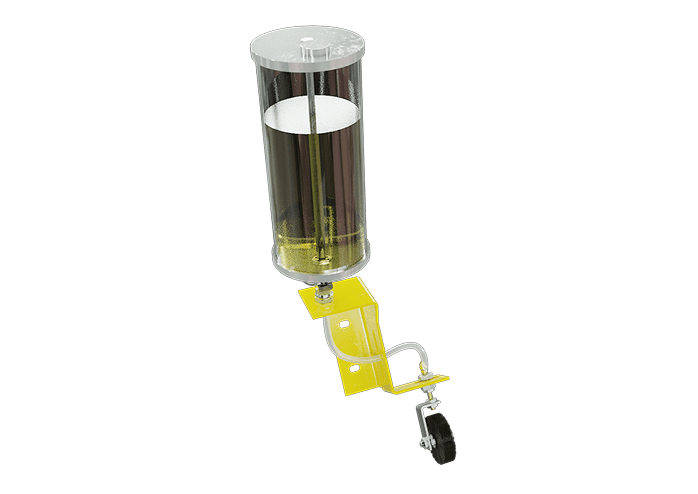

Fluent manufactures custom conveyors for recycling, waste, and heavy industrial operations. The oilers, brushes, and lubrication components we supply are the same ones we specify into our own builds, designed for performance in the world's most demanding environments.
Single-feed and multi-feed 120-volt AC configurations
Brush, reservoir, and mounting selection matched to your chain and ambient conditions
Component-level parts for repairs that do not need a complete unit
Configuration guidance for contactor-tied, timer-controlled, and VFD installations
Cross-referencing against existing installations from other suppliers
Full range of replacement conveyor parts shipped from stock
Serial number lookup on Fluent-built machines to confirm the as-built configuration
Ready to work with the experts?